I recently found myself in a situation many of us probably recognize: needing a new professional headshot for my LinkedIn profile. My old one was, charitably, from another era. While I appreciate a good photographer, I didn’t have the time to schedule a session, and frankly, I didn’t want the expense for something I needed quickly and without a lot of fuss. That’s when I decided to leverage an AI image generator, which I’ve tinkered with for other projects, to see if it could deliver a professional-looking headshot.
The usual approach for folks is often to dig up an old photo, maybe crop a selfie, or try one of those phone apps that promise “AI touch-ups” but often just add a heavy filter. The results are usually passable at best, and often look either unprofessional or oddly artificial. What I needed was something that looked like a proper studio shot—clean, well-lit, and genuinely professional. My method, using a capable AI generator and a bit of prompting discipline, allowed me to create several options that were indistinguishable from professionally taken photos to the casual observer, and I did it all from my desk in about an hour.
How I Generated My Headshots
-
Gathering Source Images
This is probably the most crucial step, and where many people skimp. The AI isn’t magic; it needs good data to work with, especially if you want it to generate an image of you. I dug through my phone and computer for at least 5-7 clear photos of myself. These weren’t necessarily professional shots, but they were:
- Well-lit, ideally with natural light.
- Facing the camera directly or at a slight angle.
- Showing a variety of expressions (neutral, slight smile).
- Relatively recent, so the AI learned my current facial structure.
- Free from distractions in the background, if possible.
My mistake the first time around was trying to make do with only two photos, both slightly blurry and from awkward angles. The AI struggled, generating faces that looked somewhat like me, but often with distorted features or inconsistencies. More, better-quality inputs gave the AI a much clearer understanding of my face.
-
Choosing and Preparing the AI Tool
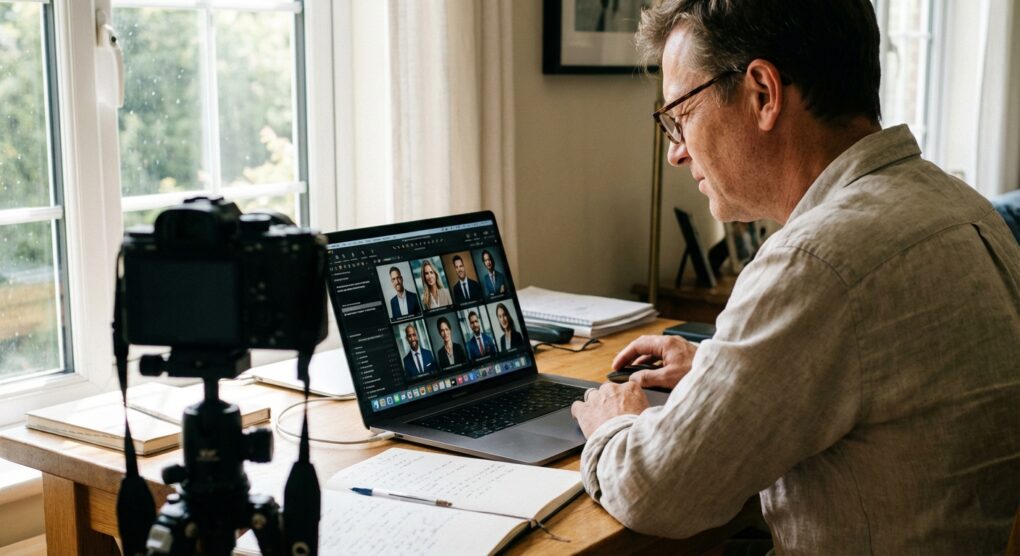
I used one of the popular web-based AI image generators. Most of these now offer a feature where you can upload reference images of yourself, sometimes called “image-to-image” or “model training.” For a one-off headshot, I found that simply uploading a few of my best reference photos (the ones I gathered in step 1) directly into the image prompt area worked well enough. If I were doing this for an entire team, I might consider a tool that lets you train a custom model on a larger dataset of faces for consistency, but that’s overkill for a personal shot.
Ensure your chosen tool supports:
- Image upload for reference.
- Detailed text prompting.
- Varying output aspect ratios (for headshots, square or slightly vertical is often best).
- Upscaling or high-resolution output.
-
Crafting the Prompt
This is where you tell the AI exactly what you want. Be specific. Think about what a professional photographer would consider. Here’s a template I found effective, which I then tweaked:
“Professional headshot of a [gender] [age range] with [hair color/style], wearing a [attire], [expression], looking directly at the camera. Soft studio lighting, shallow depth of field, corporate office background, professional, high-resolution, photorealistic, 8K.”
For my shot, I used something like: “Professional headshot of a middle-aged man, late 40s, short grey hair, wearing a dark suit jacket and light blue collared shirt, subtle smile, looking directly at the camera. Soft studio lighting, shallow depth of field, blurred modern office background, professional, high-resolution, photorealistic, 8K, corporate portrait.”
Experiment with variations. I tried different attire (sweater, shirt and tie), backgrounds (plain grey, blurred city), and expressions (more serious, wider smile).
-
Generating and Iterating
Hit the Generate button. The first batch might not be perfect, or even close. That’s fine. Review the results. Identify what works and what doesn’t. Is the lighting off? Is the expression weird? Does the background look fake? Go back and refine your prompt or adjust the strength of your reference images. Generate again. I usually run through 3-5 iterations, generating 4 images per batch, before I get something I’m happy with.
If the AI is struggling to capture your likeness, try increasing the weight of your reference images in the prompt, or upload more varied source photos if your tool allows. Some generators have a “seed” option; if you get a good pose or composition, saving the seed can help keep that element consistent while you tweak others.
-
Selecting and Refining
Once you have a few promising candidates, select the best one. Most generators allow you to upscale it to a higher resolution. Even with 8K output, I usually do a quick pass in a photo editor (like GIMP or even the built-in Windows Photos editor) just to adjust brightness, contrast, and maybe a touch of sharpening. Sometimes the AI generates small imperfections—a stray hair, a slightly off-looking button. These are usually easy to fix with a quick clone or healing brush tool.
Things people often get wrong
Based on my own trials and what I’ve seen others attempt:
- Insufficient or Poor Reference Images: As I mentioned, if you want the AI to generate *you*, you need to give it enough good quality examples of your face. Low-res, inconsistent angles, or too few images lead to generic or distorted results. It’s like trying to draw a portrait from a blurry description.
- Vague Prompts: “Headshot of a man” will get you exactly that: a generic man. You need to tell it about hair color, age, expression, clothing style, background, and crucially, lighting. Specificity is king.
- Expecting Perfection on the First Try: AI generation is an iterative process. You rarely get the perfect image on the first click. Be prepared to generate dozens of images, tweaking your prompt and settings along the way.
- Ignoring the Uncanny Valley: Sometimes, an AI-generated face can look almost human, but there’s just something subtly *off* about it—the “uncanny valley.” This often happens with eyes or hands. If you get a result like this, don’t try to salvage it with heavy editing. It’s usually better to discard it and generate again with slightly different prompt parameters, focusing on elements like “photorealistic” and “natural lighting.”
- Over-Reliance on “Fix in Post”: While minor touch-ups are fine, don’t rely on Photoshop to fix a fundamentally bad AI generation. If the face structure is wrong, or the lighting is completely off, you’re better off going back to the generator with a refined prompt. Fixing major issues in post-production usually takes more time and skill than simply generating a better base image.
While not a replacement for a dedicated photoshoot, leveraging AI for headshots can be a surprisingly effective and efficient way to achieve a professional look when time and budget are tight.