A few weeks back, I had an old Android phone, a Samsung I used for testing, suddenly decide it was tired of operating normally. It just kept showing the Samsung logo, vibrating, going black, and repeating the whole process. That dreaded “boot loop.” I’ve seen it countless times on client machines, and honestly, it still feels like a punch to the gut when it’s your own device, especially if you haven’t recently synced your photos or something.
Why a measured approach saves your data
My first thought, like most people, was to jump into recovery mode and hit the factory reset option. But then I remembered I had some unsynced notes on there, and wiping everything would be a pain. The common wisdom with a boot loop often leans towards the nuclear option: factory reset. And sure, that often fixes the boot loop, but it sacrifices all your personal data. That’s fine if you’re diligent about backups, but let’s be honest, who always is? My method focuses on fixing the problem non-destructively, exhausting every avenue before resorting to data loss.
How to fix your Android boot loop
This is the process I followed, step-by-step, to get that old Samsung back online without losing a single note.
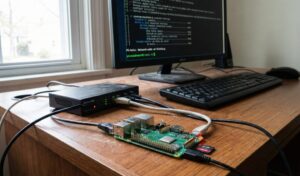
1. Initial Checks and Preparation
- Charge the Phone: This might sound obvious, but a critically low battery can cause all sorts of weird boot behavior. Plug it in for at least an hour, even if it just keeps looping. Sometimes, the charging circuit is just barely getting enough juice to attempt a boot but not complete it.
- Remove External Media: Pull out your SD card and SIM card. Corrupted data on an SD card or even a failing SIM can, in rare cases, interfere with the boot process. It’s a quick, easy troubleshooting step to rule out external factors.
2. Enter Recovery Mode
This is where things get device-specific, but the general principle is the same. You need to hold a combination of physical buttons while the phone is off to get into its special recovery environment.
- For most Samsung devices: Volume Up + Power Button + Home Button (if it has one) or Volume Up + Power Button + Bixby Button (for newer models).
- For Google Pixel phones: Volume Down + Power Button.
- For OnePlus and many others: Volume Down + Power Button.
Hold these buttons down from a fully powered-off state. If it’s boot looping, try to press and hold them right when the screen goes black before it attempts to restart. Keep holding until you see the recovery menu.
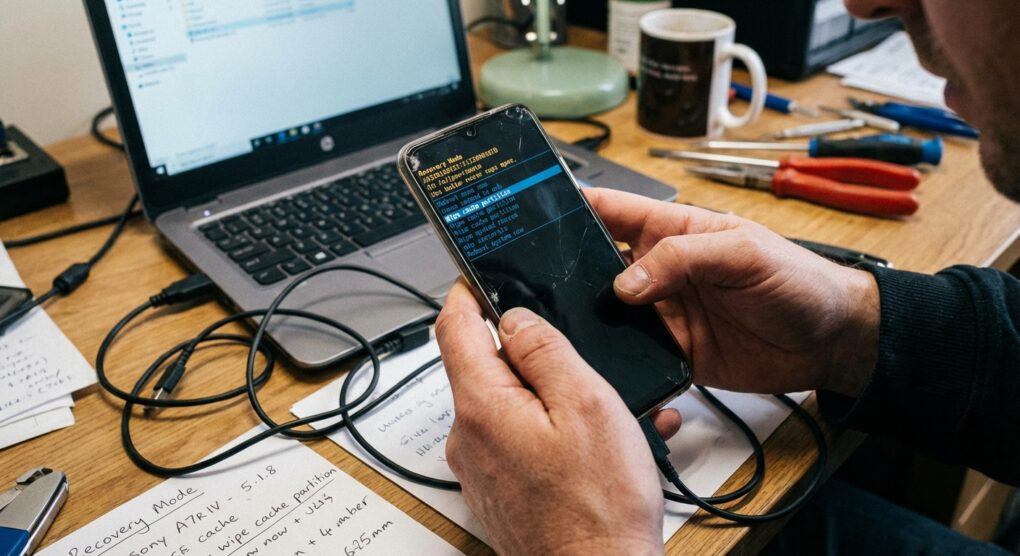
3. Navigate and Wipe Cache Partition
Once you’re in recovery mode, you’ll typically use the Volume Up and Volume Down buttons to navigate the menu options and the Power Button to select.
- Navigate to Wipe cache partition.
- Select it using the Power Button.
- Confirm the action if prompted. This process only clears temporary system files and logs; it does not touch your personal data, apps, photos, or settings. It’s safe.
- Once it completes, navigate to Reboot system now and select it.
This fixed the Samsung’s boot loop for me. A corrupt cache was the culprit that time.
4. If the Loop Persists: ADB Sideload (Advanced)
If wiping the cache partition didn’t work, the next step involves using your computer to “sideload” an official firmware update. This method often re-applies system files without erasing user data, provided you use the correct package.
- Install ADB and Fastboot tools on your computer. You can find platform-tools from the Android developers website.
- Download the correct firmware package: This is critical. You need the specific, official update package for your exact phone model and region. Head to your phone manufacturer’s support site (e.g., Samsung Firmware, Oxygen Updater for OnePlus, etc.). Look for a “full OTA” or “firmware update” file, usually a .zip file. Make absolutely sure it’s for your exact model number, or you risk bricking the device.
- Enter Recovery Mode again.
- Navigate to Apply update from ADB or Apply update from PC. Select it. Your phone will now wait for a connection from your computer.
- Connect your phone to your computer with a reliable USB cable.
- On your computer, open a command prompt or terminal in the directory where you downloaded the firmware .zip and extracted the ADB tools.
- Execute the command:
adb sideload your_firmware_file_name.zip(replaceyour_firmware_file_name.zipwith the actual file name). - Allow the process to complete. This can take a while. Do not disconnect the phone.
- Once done, select Reboot system now from the phone’s recovery menu.
Typical issues
I’ve run into a few snags with this over the years, and I’ve seen others make similar mistakes.
- Incorrect Button Combinations: Getting into recovery mode is the first hurdle. Manufacturers are all over the place with their button combos. Google “How to enter recovery mode [your phone model]” if you’re having trouble. You might need to try a few variations.
- Wrong Firmware for Sideload: This is a big one. The first time I tried an ADB sideload on an older Nexus, I grabbed what I thought was the right update.zip, but it was for a slightly different regional variant. The sideload failed with an error, and I wasted time downloading another 2GB file. Always verify the full model number – often found on the original box or a sticker on the back of the phone – and match it precisely with the firmware package.
- Driver Issues on PC: For ADB sideloading, your computer needs the correct Android drivers. If
adb devicesdoesn’t show your phone, you likely have a driver problem, even if you installed the platform-tools. - Corrupt Download: Sometimes, a large firmware file downloads with corruption. If ADB sideload gives you integrity errors, try downloading the file again, perhaps from a different mirror or connection.
Patience and precision are your best tools when dealing with a device stuck in a boot loop and you want to keep your data intact.